This Installation and Configuration guide for EdgeReady Plugin is for the Windows instance.
Prerequisites:
- The EdgeReady Plugin machine has a DNS or Public IP address
- EdgeReady Cloud can make http/https request to the EdgeReady Plugin
- EdgeReady Plugin has network-accessibility to SAP and other on-premise services
System Requirements
| Software Requirements | Hardware Requirements |
|---|---|
| Tomcat Java Server v9 | For 10-150 users
|
| (Please check with your deployment specialist for hardware sizing specific to your app needs.) | |
Installation Steps
Step1: Download the open JDK zip file from https://download.java.net/openjdk/jdk11/ri/openjdk-11+28_windows-x64_bin.zip.
Step2: Install JRE
- Unzip the openjdk-11+28_windows-x64_bin.zip file into C:\java
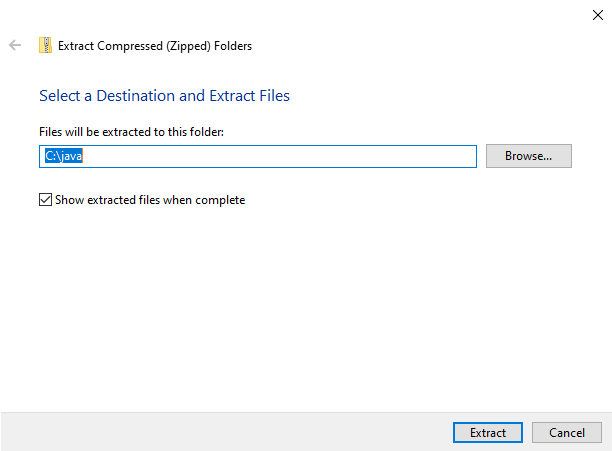
- Update the Windows Environment variables.
- Go to Control Panel > System and Security > System > Advanced System Settings > System Properties
- Click Environment Variables to open the popup window.
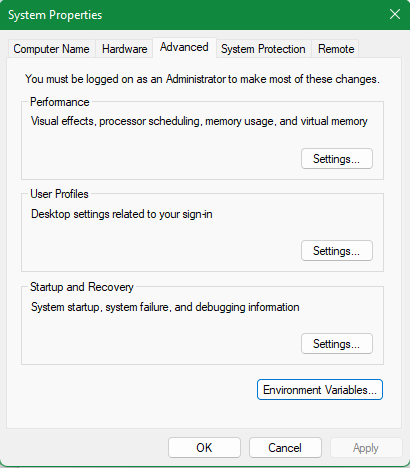
- Click New to create a New System Variable.
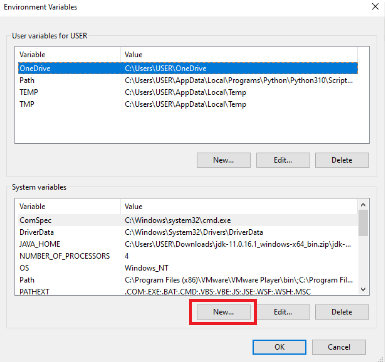
- Add the JAVA_HOME variable and specify the folder path C:\java\openjdk-11 as value.

- Update the Path variable by clicking Edit. The Edit Environment Variable popup window opens.
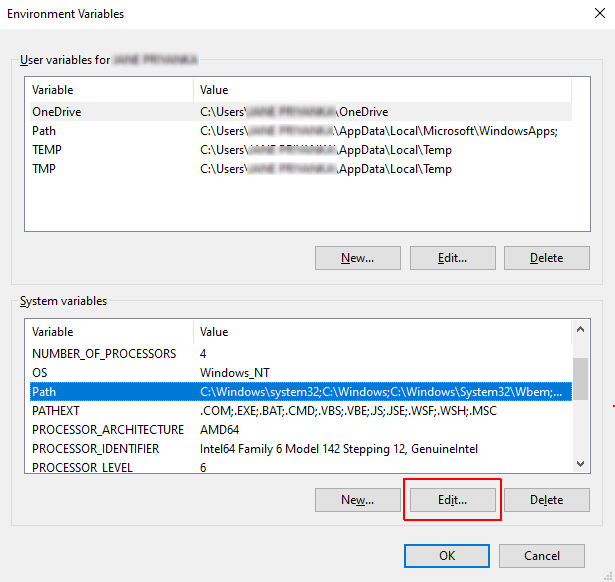
- Click New and add the C:\java\openjdk-11\bin path
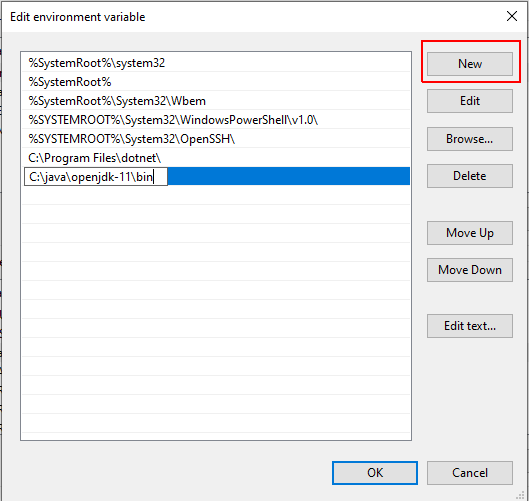
Step3: Download and Install Tomcat
- Download the exe file from https://dlcdn.apache.org/tomcat/tomcat-9/v9.0.74/bin/apache-tomcat-9.0.74.exe link.
- In the Tomcat Setup welcome screen, click Next to proceed.
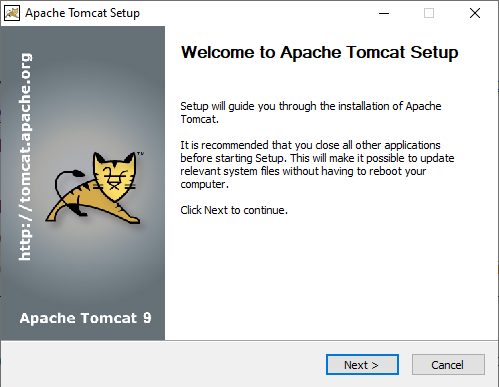
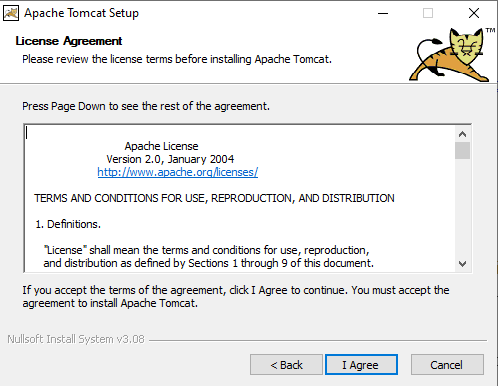
- Click I Agree to proceed to the next step.
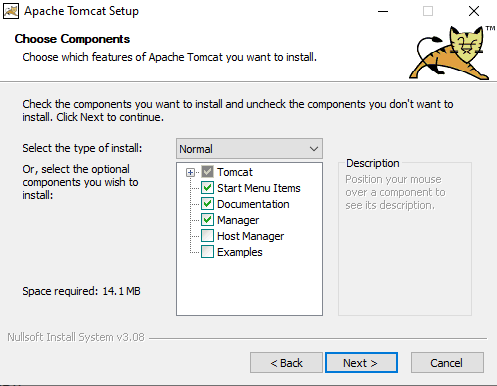
- In the Tomcat component selection screen, keep the default Normal installation type and click Next.
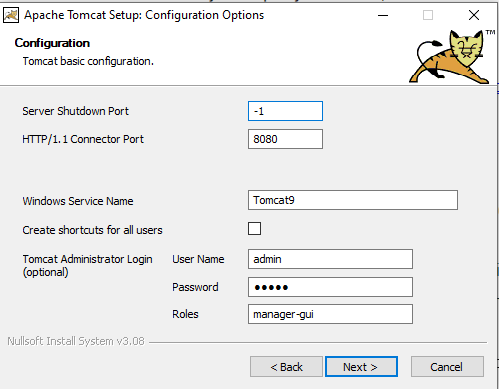
- In the Configuration screen, enter required details or keep the default information and click Next.
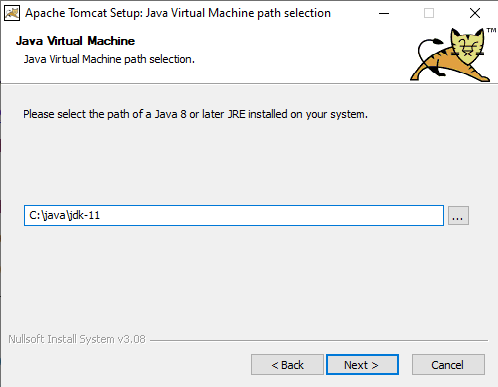
- Enter the full path to the JRE directory on your system. The wizard auto-completes this if you have previously set up the Java Environment variables. Click Next to proceed to the next step.
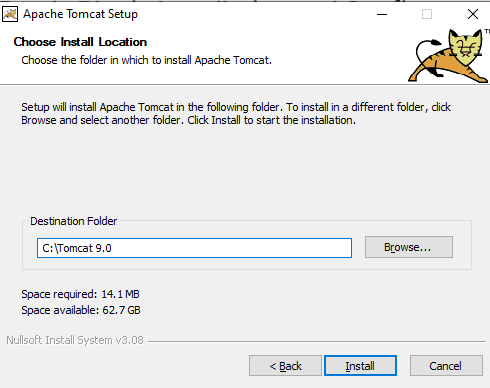
- Choose the Tomcat server install location or keep the default one and click Install. (Remember the Tomcat server location to copy the EdgeReady Plugin file later).
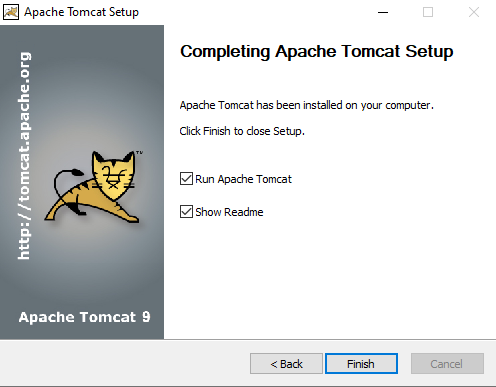
- Select the Run Apache Tomcat check box to start the service after the installation finishes. To complete the installation, click Finish.
Step4: Download EdgeReadyPlugin war file.
Step5: Copy the EdgeReadyPlugin.war file to C:\tomcat-9.0\webapps
Step6: Autostart Tomcat
- Open Windows Services window and select Apache Tomcat 9.0 service.
- In Properties, set Startup type to Automatic.
- Ensure that the service is in Running state.
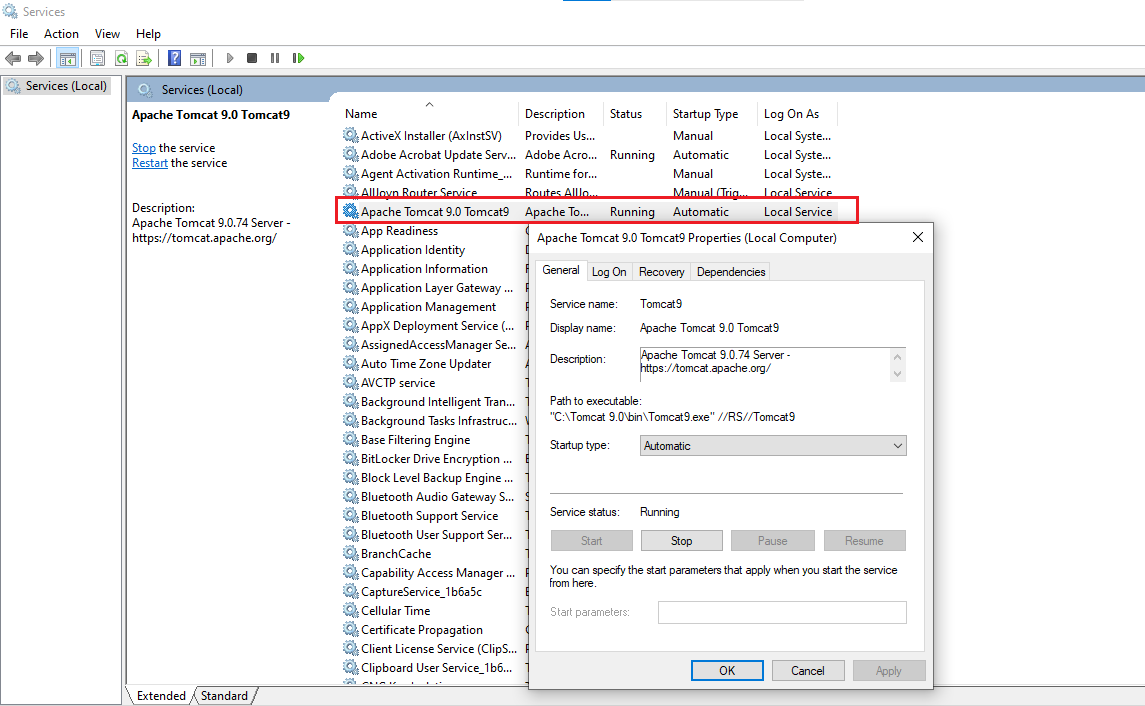
Step7: Open config.properties in C:\Tomcat 9.0\webapps\afPlugin\WEB-INF\classes\config.properties
Step8: Update the path parameter as path=C:\tomcat9.0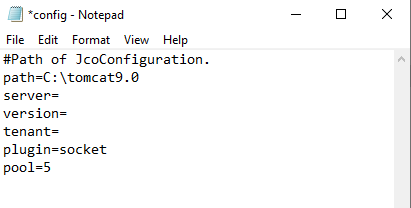
Step9: Open Windows Services and Restart Tomcat services.
Configuration Steps
Step1: Open the browser and type https://<<HOST:PORT>>/plrPlugin/ or http://<<HOST:PORT>>/plrPlugin/ to connect to the EdgeReady Plugin.
Step2: In the EdgeReady Plugin screen, click the +New SAP RFC connection button.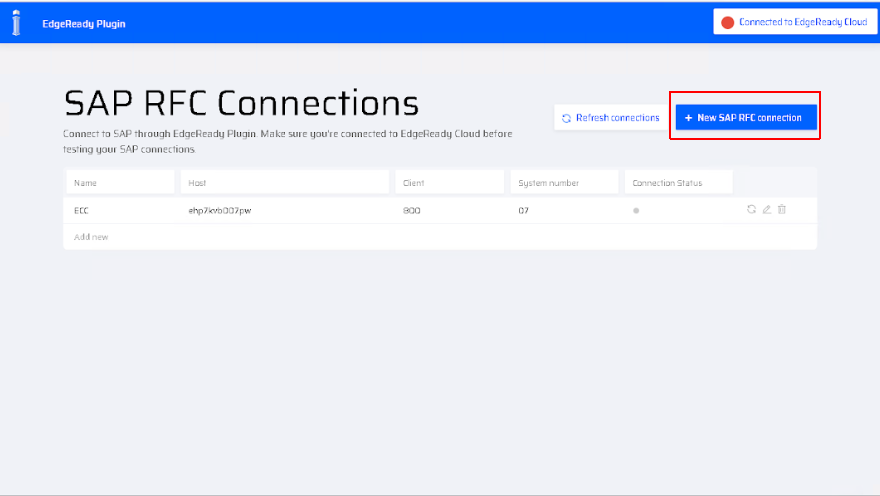
Step2: Enter the connection parameters and click Create to save the configurations.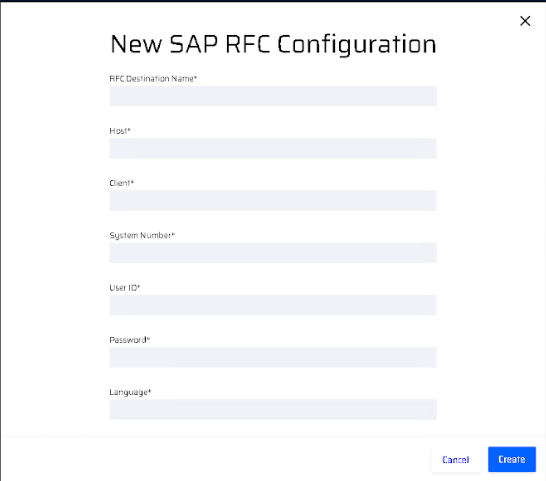
Step3: Open Integration Builder and build a sample BOS with a SAP block to test the connection.