The Scheduler is used to schedule the backend operations in the EdgeReady platform.
In the Scheduler page, a list of scheduled jobs are displayed. There is an option to create a New Schedule.
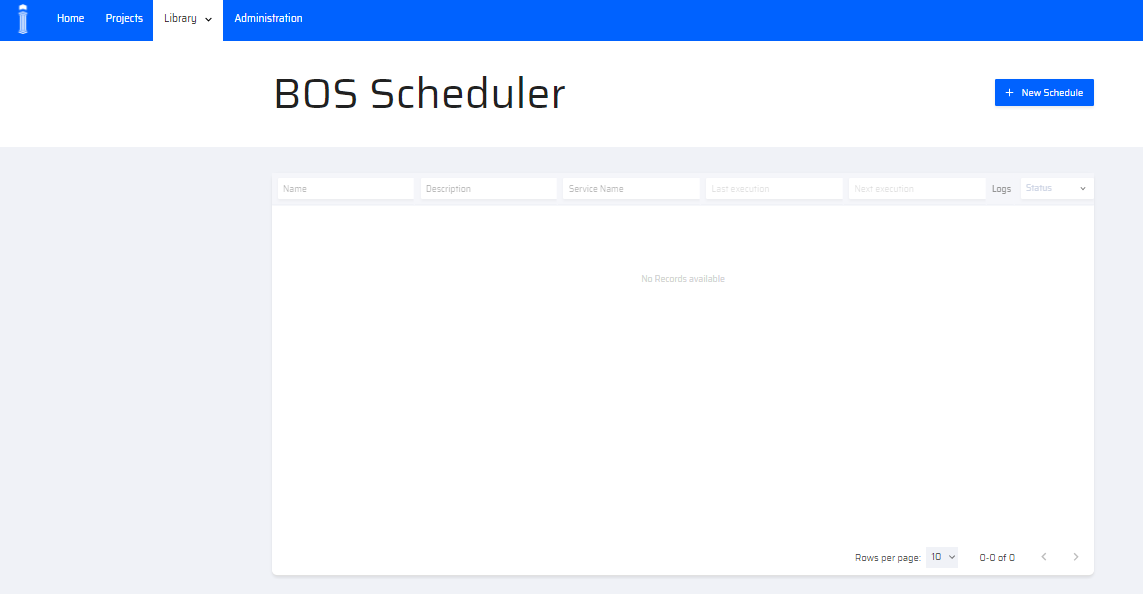
Clicking the +New Schedule button displays the following popup.
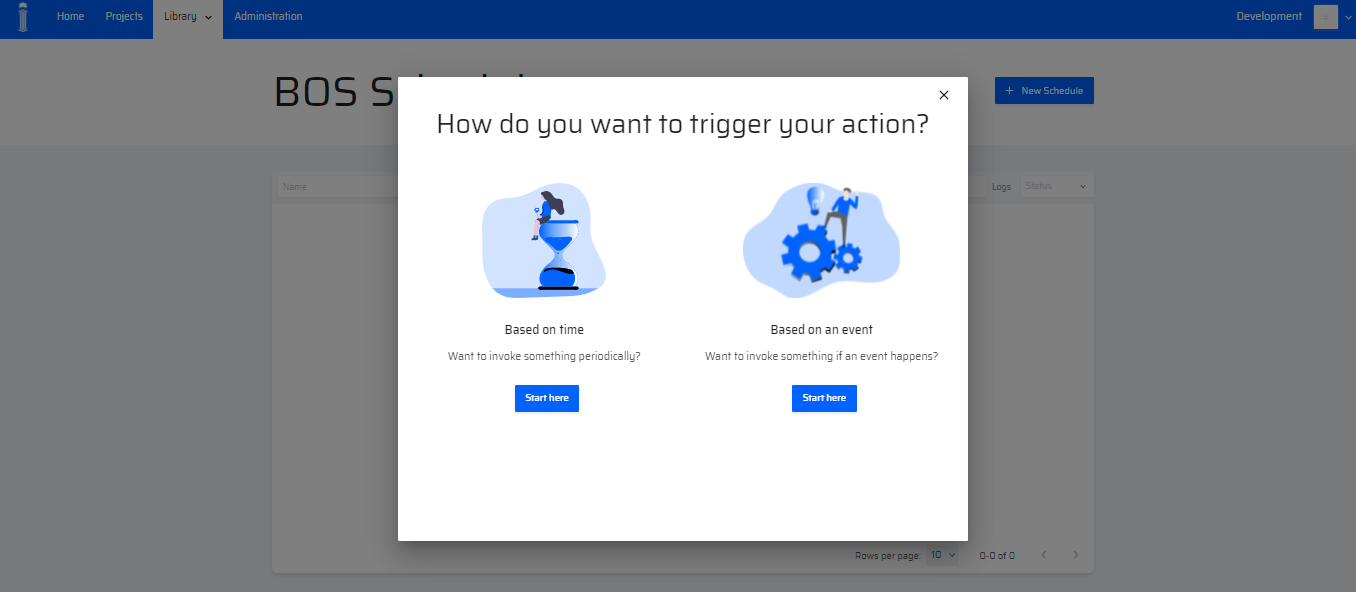
There are two types of Schedules:
- Time-based
- Event-based
Current version supports only Time-Based Schedules.
How to create a Time-based Schedule?
In order to create a time-based schedule, the user has to click Start here button in the Scheduler options. The following popup appears requesting for details about the time-based schedule.

The name and description of the schedule along with the service type (BOS) is specified. Once all the necessary fields are entered, the user clicks Next.
In the next popup, the BOS to be invoked for the particular schedule is selected from the list of available BOS. 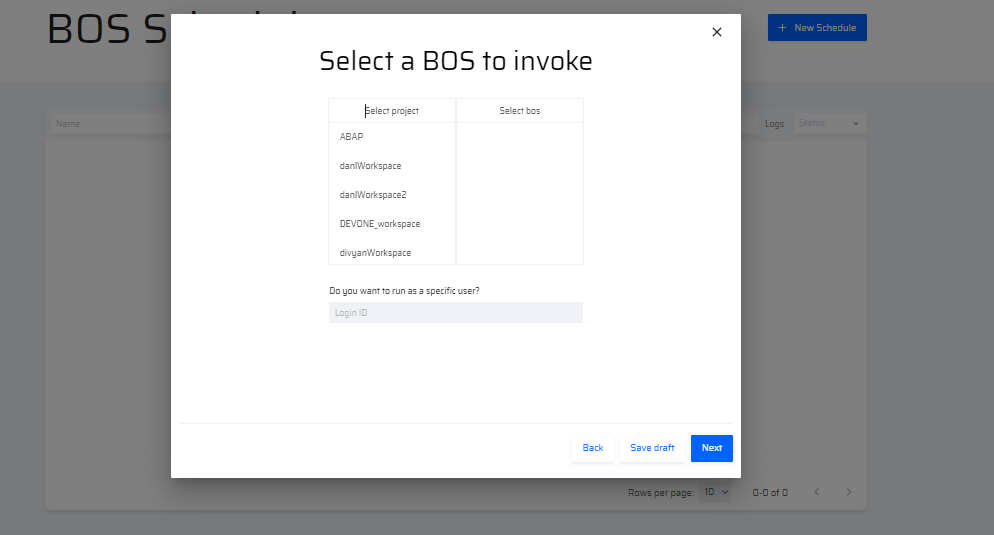
The schedule is run by the logged in user(by default). If the job has to be run by a specific user, the Login ID is entered.
Only BOS of published Apps within a project are available for selection.
Once the BOS is selected, the user clicks Next.
In the next popup, the user can specify the parameters for the BOS.

If the BOS is called from a Third-party server, the System and User credentials are entered.
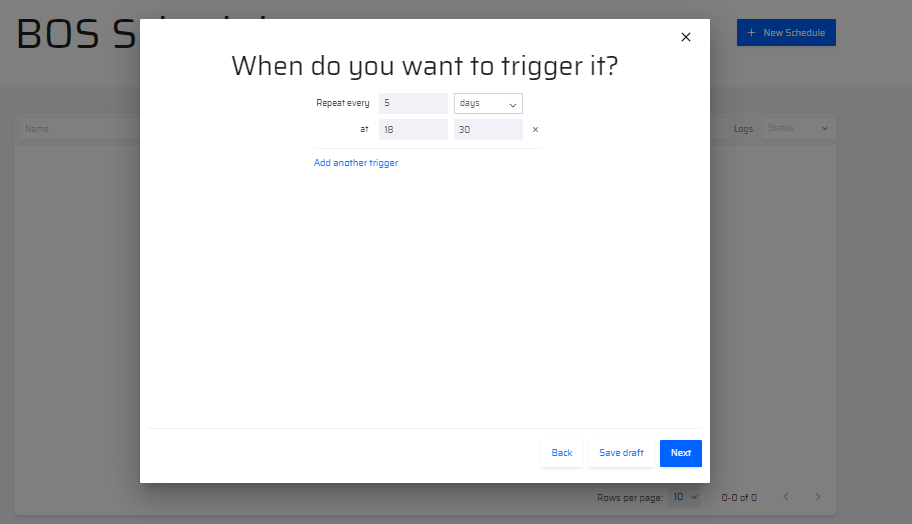
Once the necessary input parameters are entered, in the next popup, the user can select when the job needs to be triggered and the intervals for repetition. A particular scheduled job can be triggered multiple times.
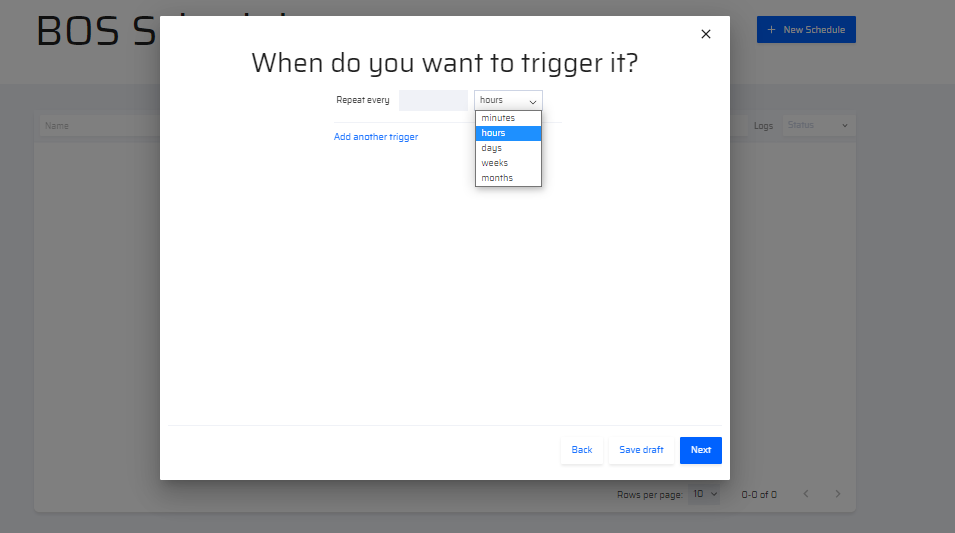
A time is specified after the repeat option is selected.
Once all the details are entered, the user confirms the schedule in the next popup.
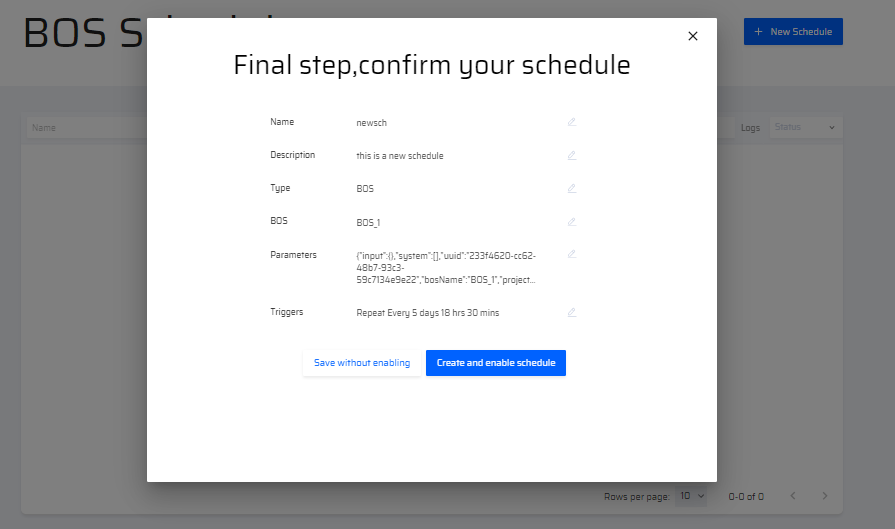
The user can either confirm and enable the schedule right away or save the schedule for later use without enabling it. Any field can be edited at this point before the schedule is confirmed.
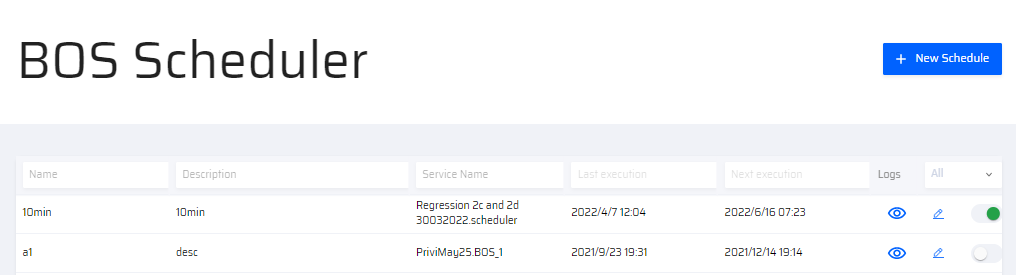
Once confirmed and enabled, it is displayed in the Scheduler Logs. Their status can be displayed in green(for enabled). They can be disabled by clicking the toggle switch.
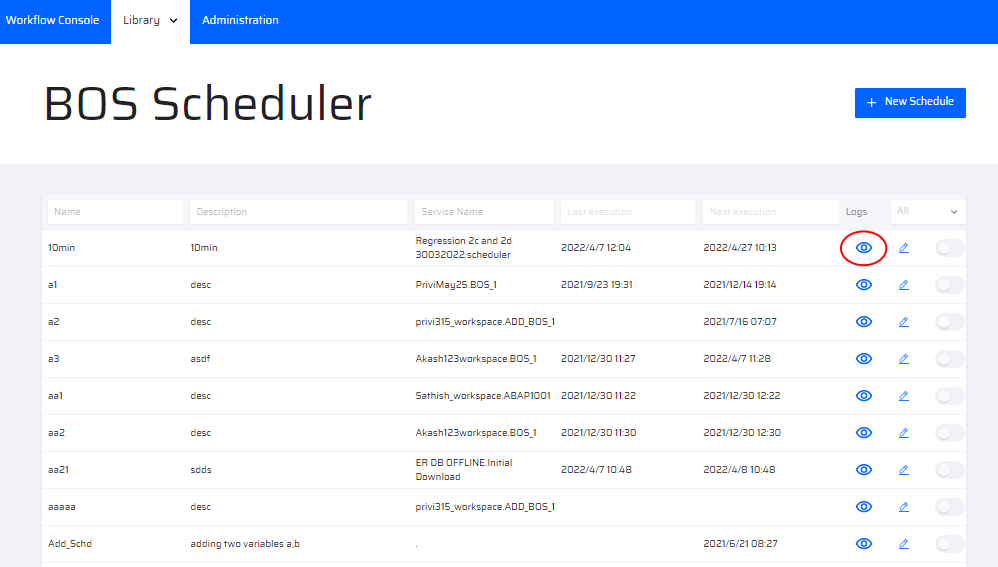
How to view the Scheduler Log?
The users can view the Scheduler log by clicking the "eye" icon in the BOS Scheduler screen.
The Scheduler Log List popup window appears. Here the user can view the status of the scheduled BOS events.
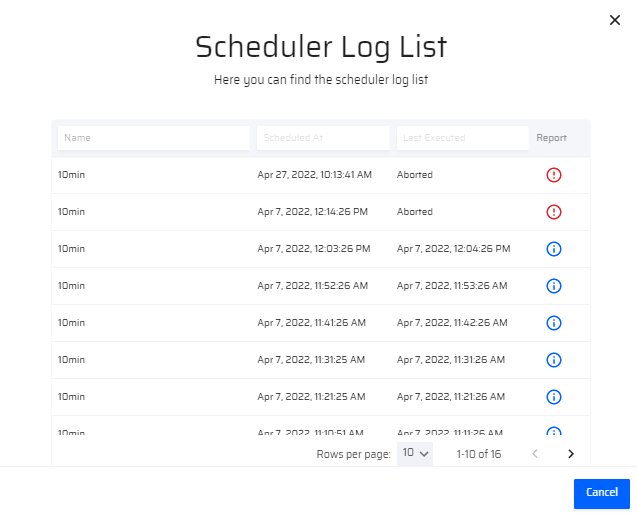
If the scheduled BOS had run sucessfully it is denoted by a "blue" icon. By clicking the blue icon, the user can view the Scheduler Log Report.

If the scheduled BOS was Aborted it is denoted by a "red" icon.