Let’s consider a scenario where the SAP Objects are chosen for Modernization.
ABAP conversion works in 4 stages:
- Choose Project - Choose the project from the drop-down options or create a new project from Plug-in or RFC.
- Automatic Mapping - Mapping occurs independently.
- Review Mapping - The mapped contents can be viewed, modified, and monitored.
- Modernize - Once mapping is complete, the objects are ready to be used in EdgeReady Cloud.
The following pop-up is displayed.
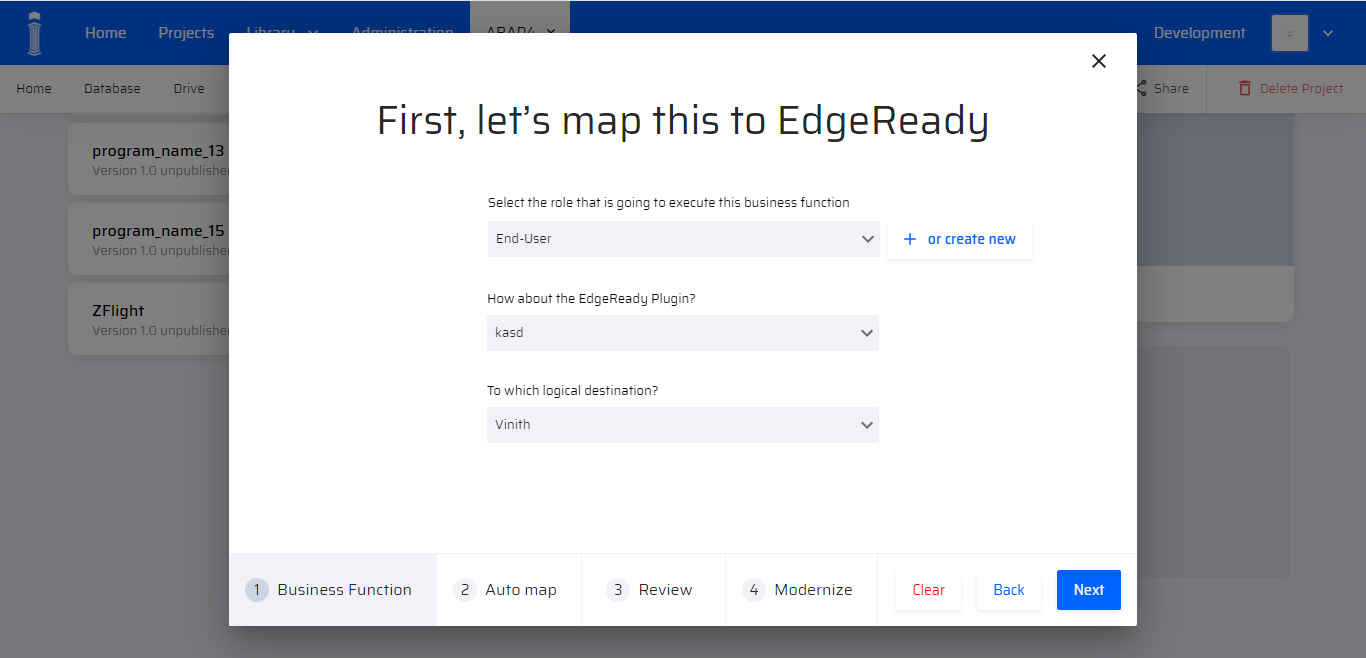
There are 3 steps that the user has to follow:
- The user has to mention the role that is going to execute the particular business function. (There is also an option to create a new role)
- The user has to select an appropriate EdgeReady Plugin.
- The user has to select the logical destination in which the mapping should occur. This technique is called RFC Mapping.
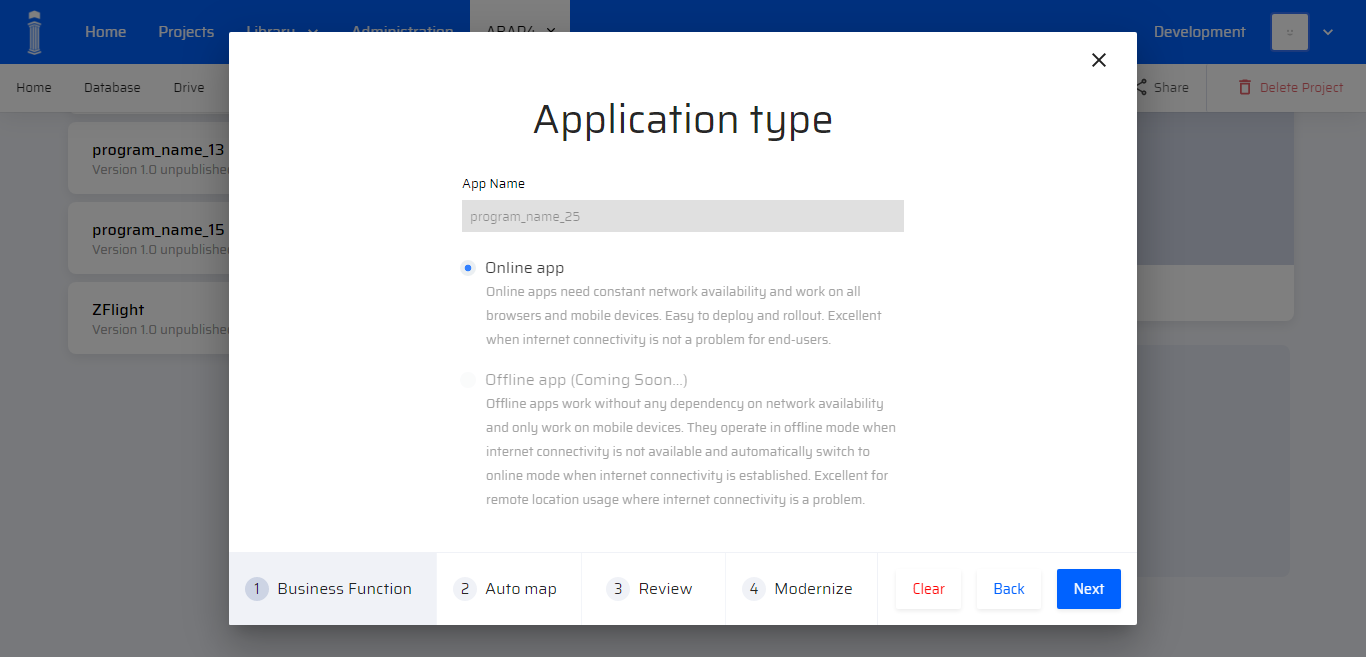
Once the details are entered, the user clicks Next. The following series of popups appear requesting for more details about the App.
-
The App type is selected:
-
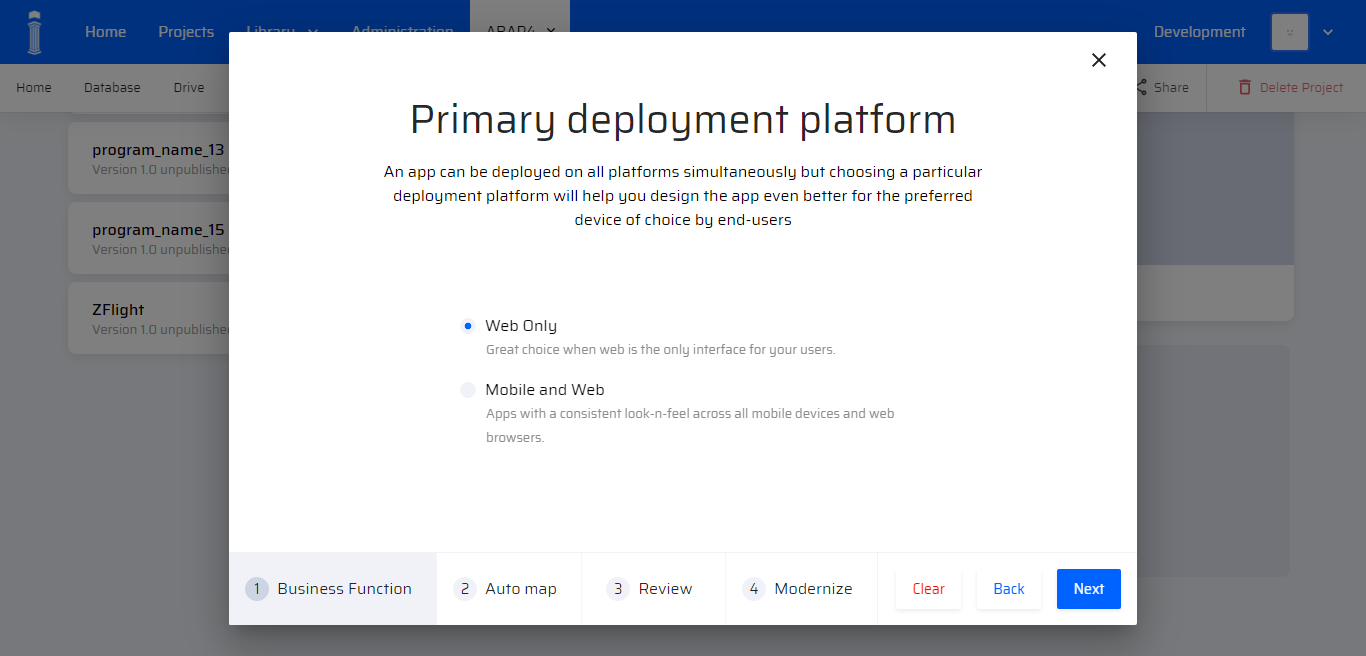
The primary deployment platform is selected.
-
The App icon is uploaded. There is also a radio button to select if the App has a menu or not.
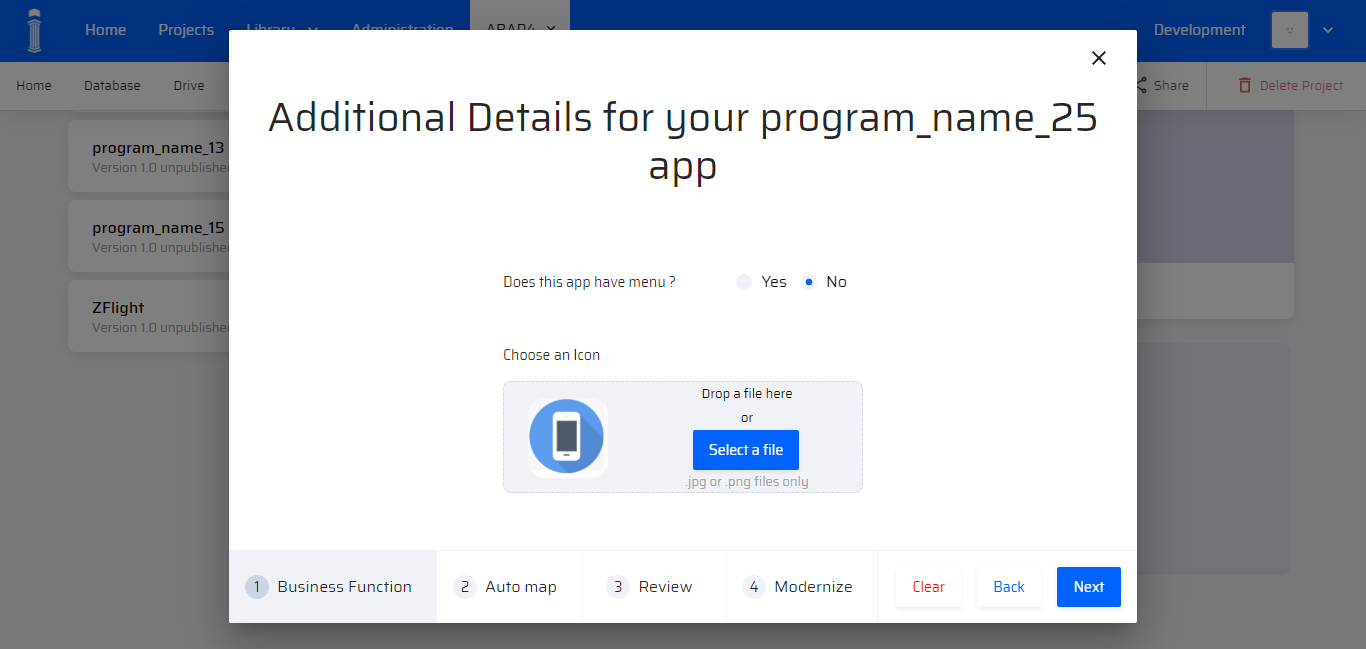
Menu is nothing but a universal worklist that is only available for workflow apps.
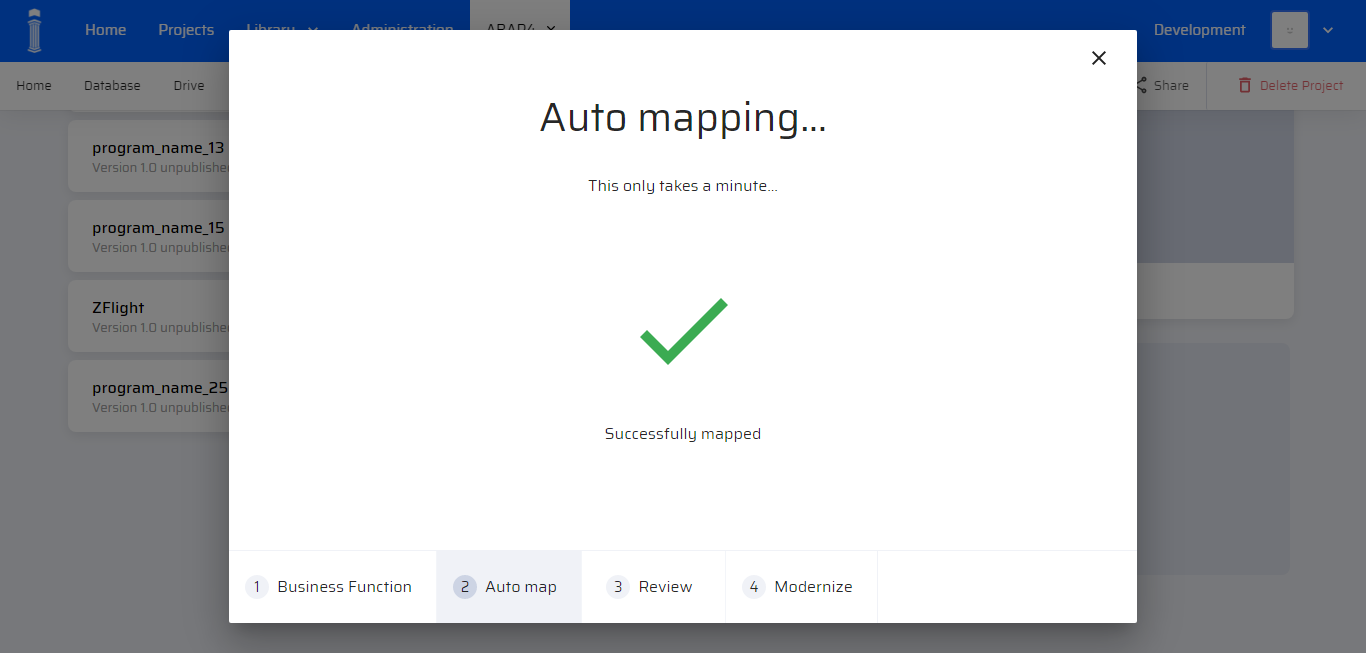
The auto mapping window displays momentarily and redirects to the review screen.
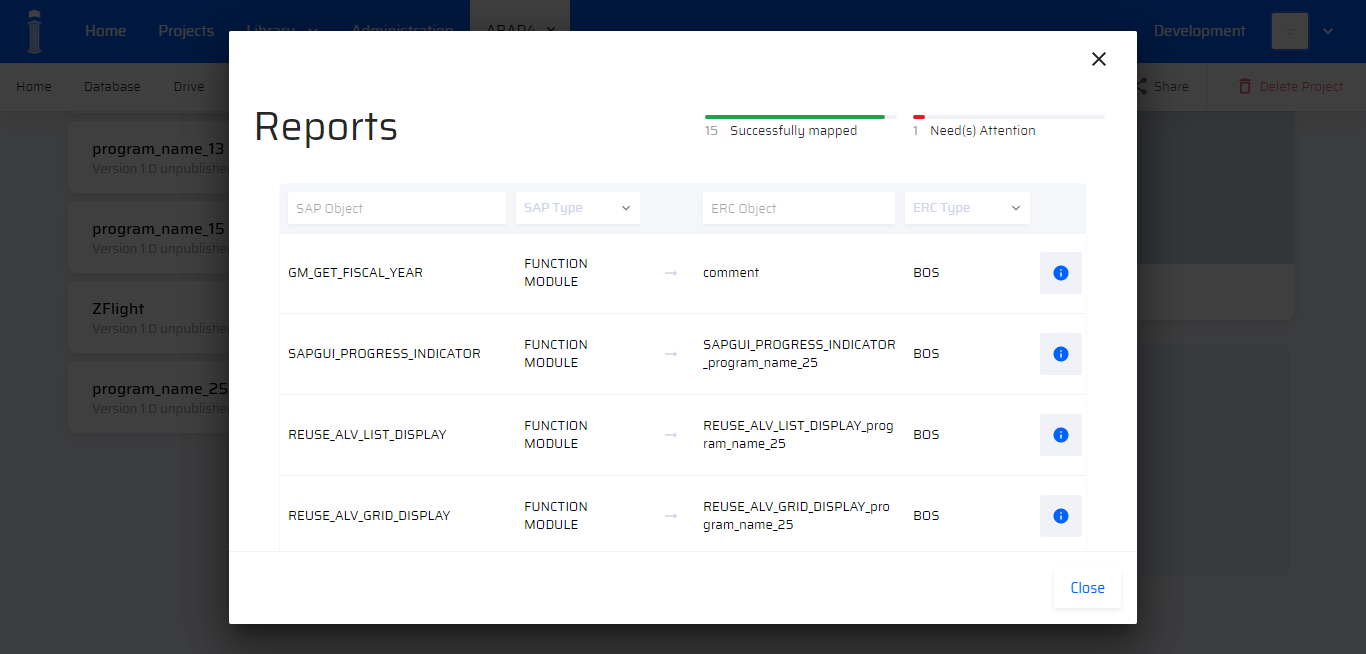
The Review Mapping page appears as follows.
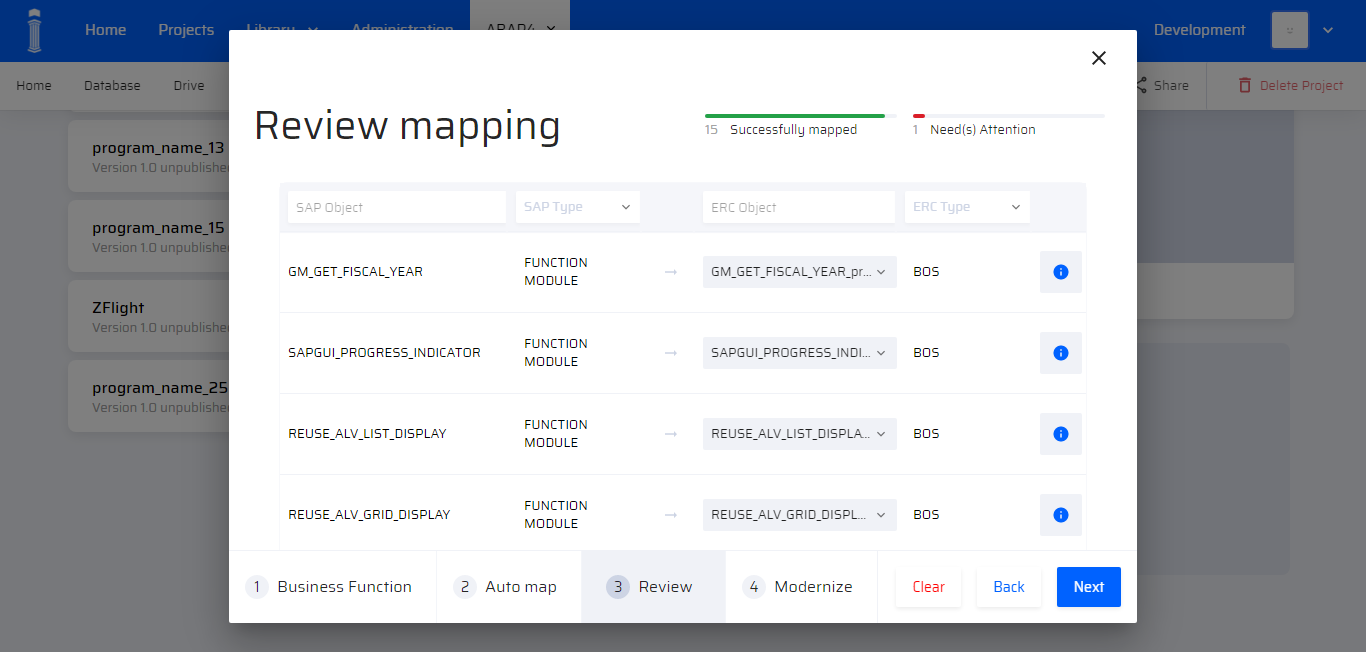
Post Mapping, the left columns denote the SAP Object and SAP Types, while the right side represents the corresponding ERC Object with the ERC Type.
The highlighted Objects on the top represents successfully mapped and troubleshooting Objects highlighted in green and red respectively.
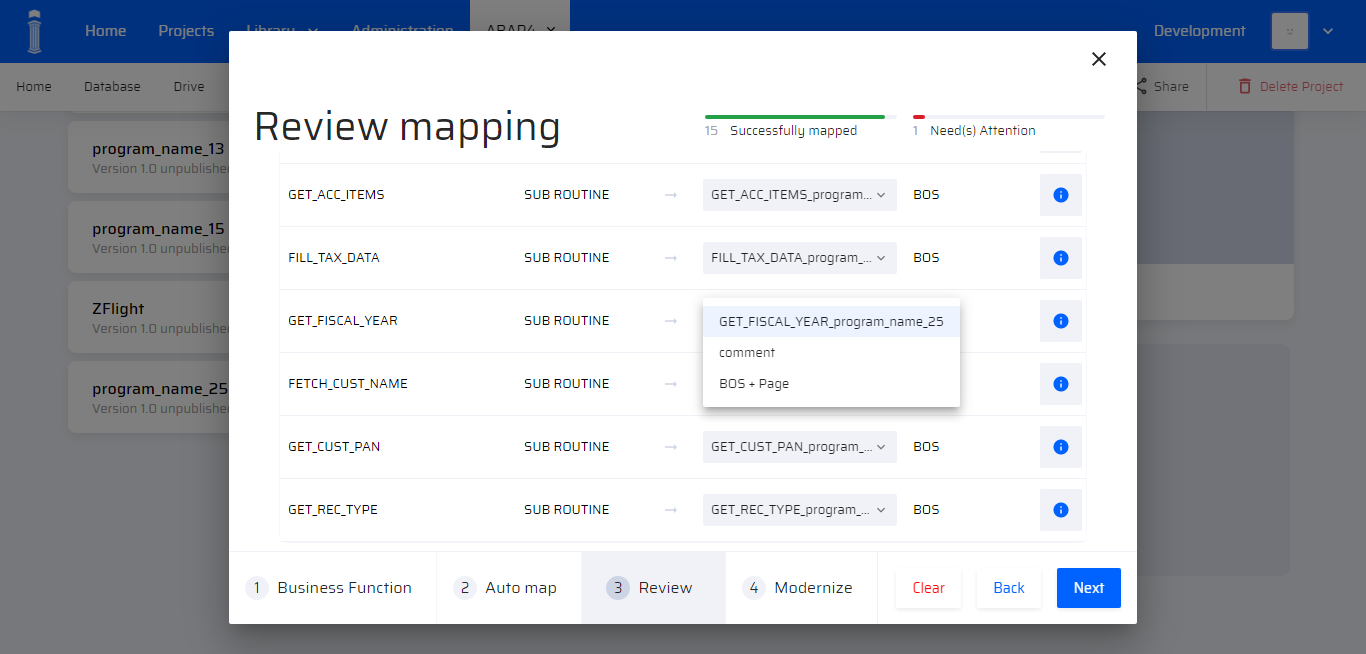
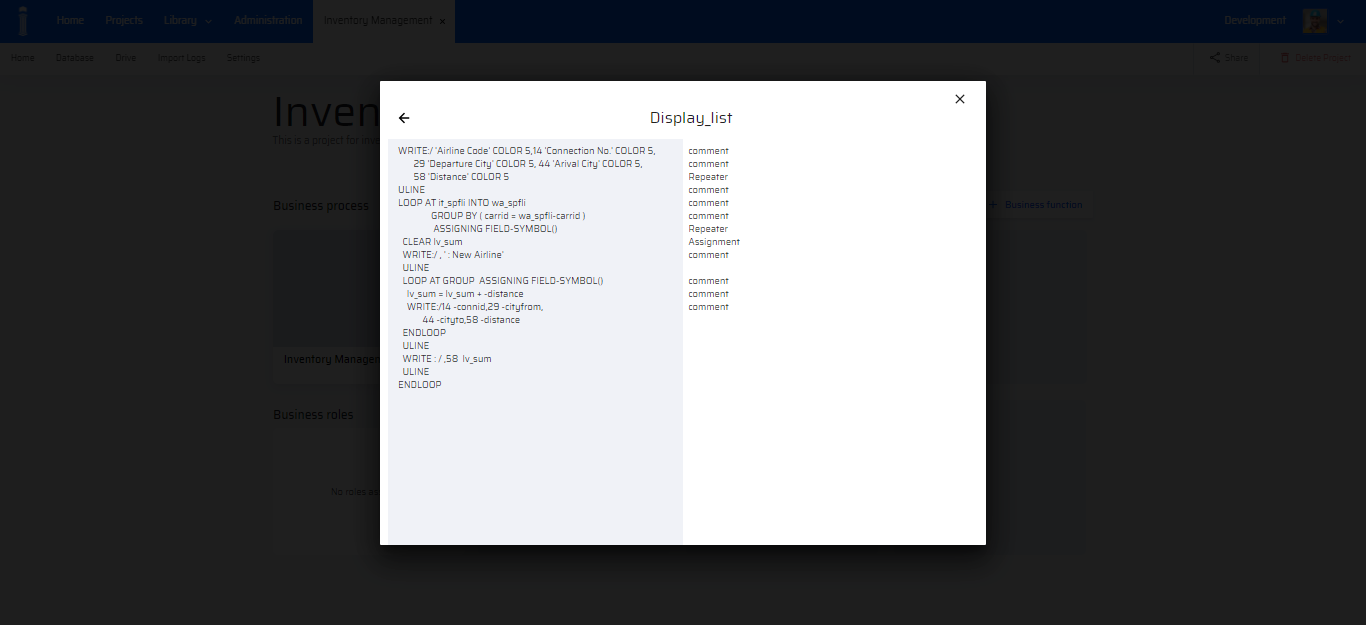
Every ERC object will have an ERC Object Name, Comment, BOS, or Page options. The comments will be added to the Java Script for each object.
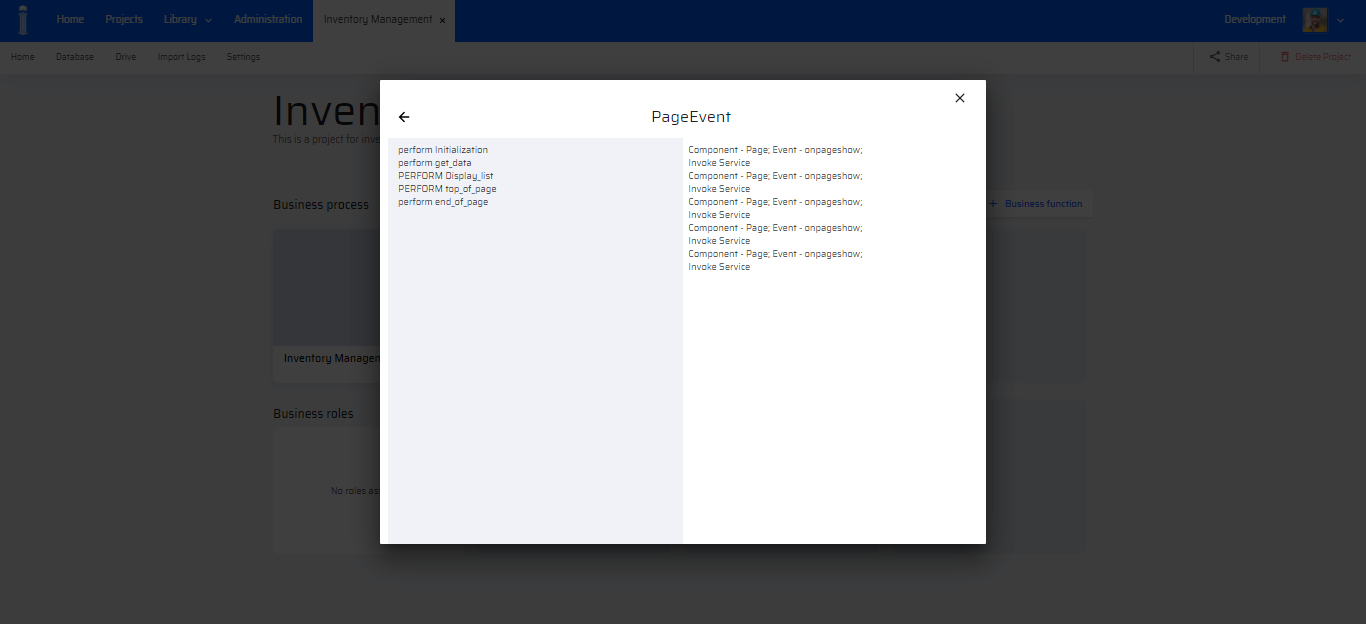
Clicking on the information icon on the right of each object displays the event with respect to the object.
Once the options are selected, the objects are ready to be modernized.
The following screen appears to initiate the modernization process.
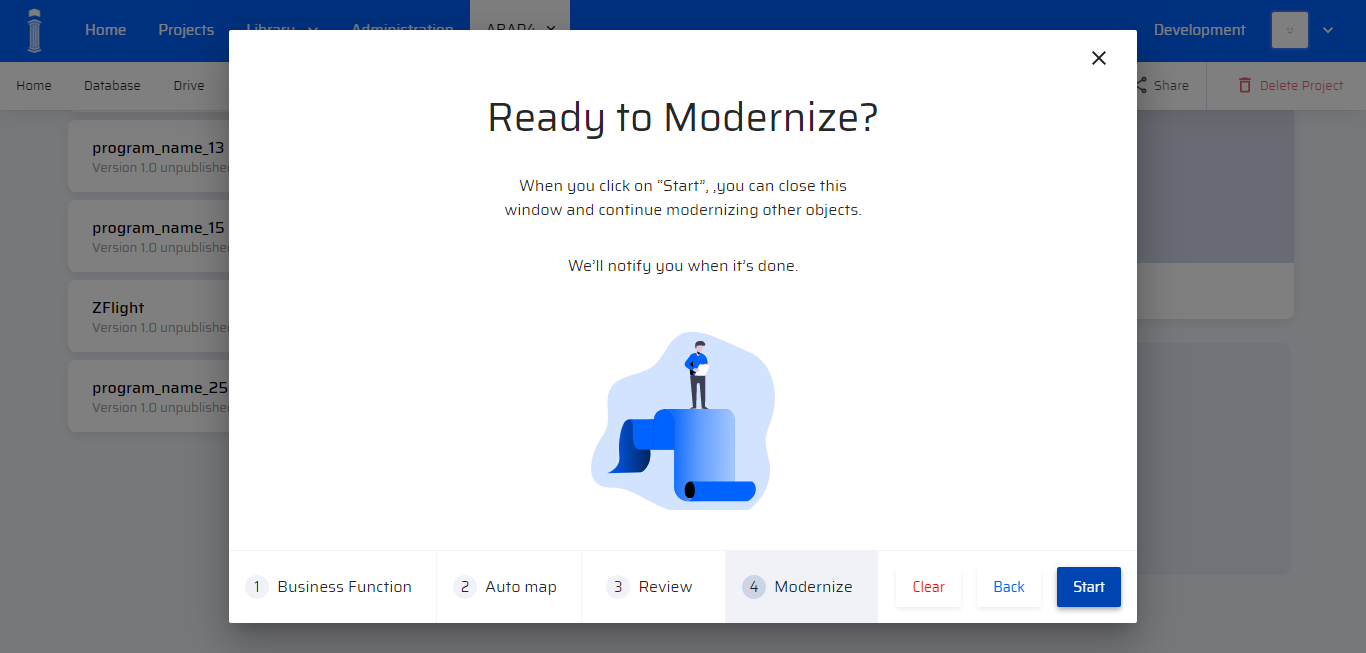
To initiate modernization, the user can click Start.
The following screens appears to indicate the progress of modernization.
-
Initial stage
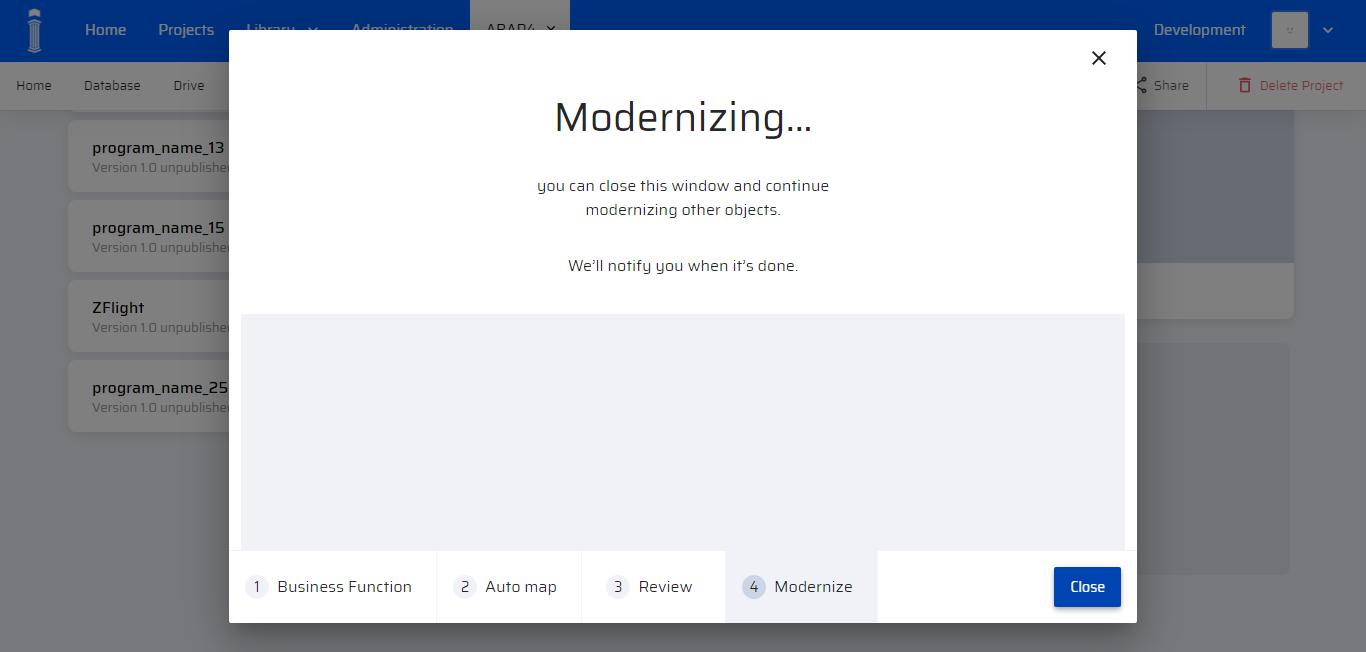
-
Intermediate stage when the objects are uploading

-
After successful mapping, the success message is displayed on the right

The ABAP codes are converted into Javascripts and into BOS as SAP (function related blocks) to be functional in the EdgeReady Cloud.
A customized report for each Object is shown at the end of mapping.
The Pink highlights represent errors in Mapping. They refer to the corresponding objects that are not mapped into the EdgeReady Cloud.
The successfully mapped and not modernized contents are highlighted in green.
The information icon for every mapped Object is shown as follows.
For successfully mapped objects:
For failed objects: (error message highlighted in red)
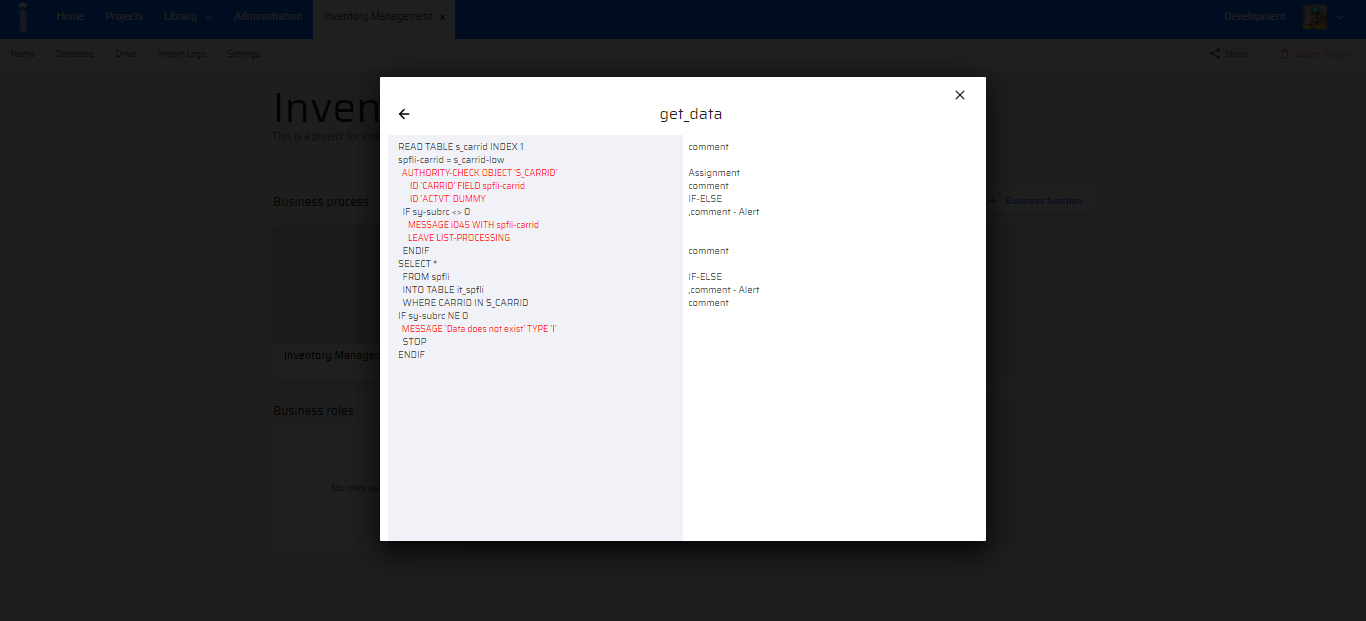
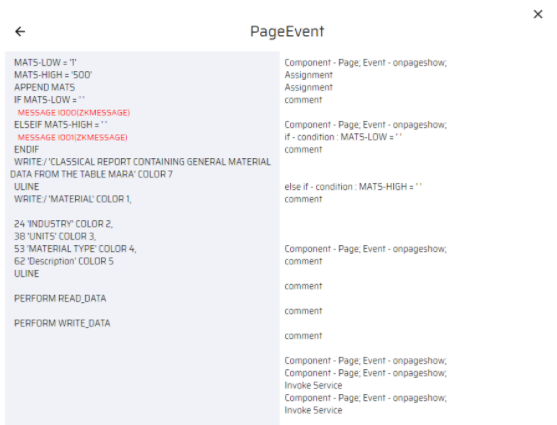
The page events are also displayed in the report.
Once Modernization is complete, the EdgeReady Cloud objects and object types are displayed on the DB.

There is also an option to view Reports and Logs of the corresponding objects in the UX Library of the App Designer.